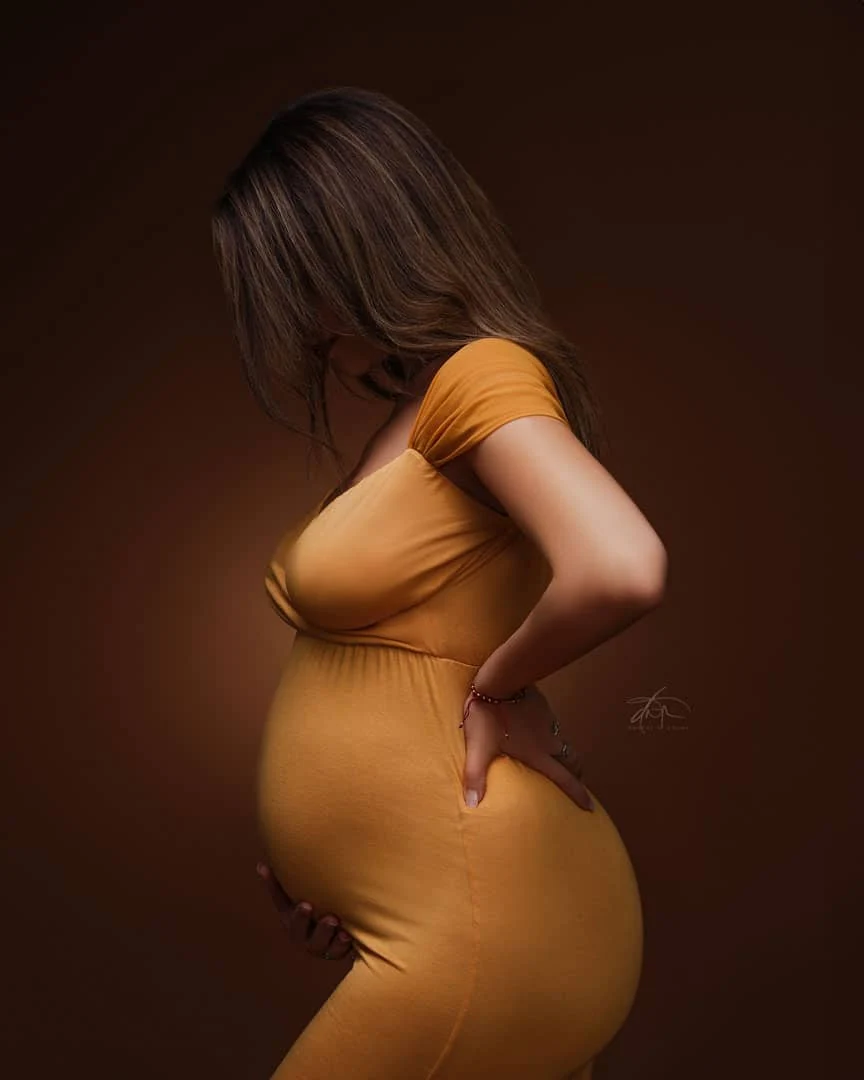
Choose what the viewer should notice.
A dramatic maternity portrait might emphasize the face, the curve of the belly, fabric movement or a clean silhouette. Choose the priority before placing the light. Darkness alone does not create dimension: the placement of highlights, transitions and readable edges does.
Start with a comfortable pose that the subject can hold without strain. Keep the set clear and stands secure. Let the pose guide the lighting instead of repeatedly asking the subject to contort for a fixed light. Small turns of the face or torso can change which surfaces catch the source.
Build one useful direction of light.
- Start with one source to the side and slightly in front of the subject. Adjust height while watching eyes, nose and the shape across the torso.
- Feather the beam and inspect the fabric. A bright fold may reflect more strongly than skin even when both receive similar illumination.
- Check the shadow-side outline against the background. Change background tone, subject angle or separation before automatically adding a rim light.
- Meter at the face and other important positions. Confirm the camera frame preserves the detail that matters.
- If a rim is needed, add it at a restrained level and check for flare, clipped edges and light hitting the lens.
Control the backdrop without losing the subject.
A nearby source can create stronger relative falloff across subject-to-background depth in the point-source model. A large nearby modifier may depart from that prediction, and feathering changes the beam reaching different surfaces. Use the placement planner for a first estimate and the spill mapper for real readings.
For full-length portraits, check face, belly, hands and lower fabric. An exposure chosen only from the face can hide significant falloff elsewhere. Decide which differences are intentional, then alter placement or feathering to correct the rest.
YOUR NEXT 10 MINUTES
Predict. Measure. Refine.
Which area should be brightest, and which shadow should remain readable?
Make an ambient-only frame, then a key-only frame. Record face and lower-fabric readings with a consistent method.
Look for graceful shape, eye detail, fabric texture and unintended spill. Portfolio style is inspiration, not proof of a particular setup.
Change one light position or one flag. Re-meter, compare and save the version that supports the intended portrait.